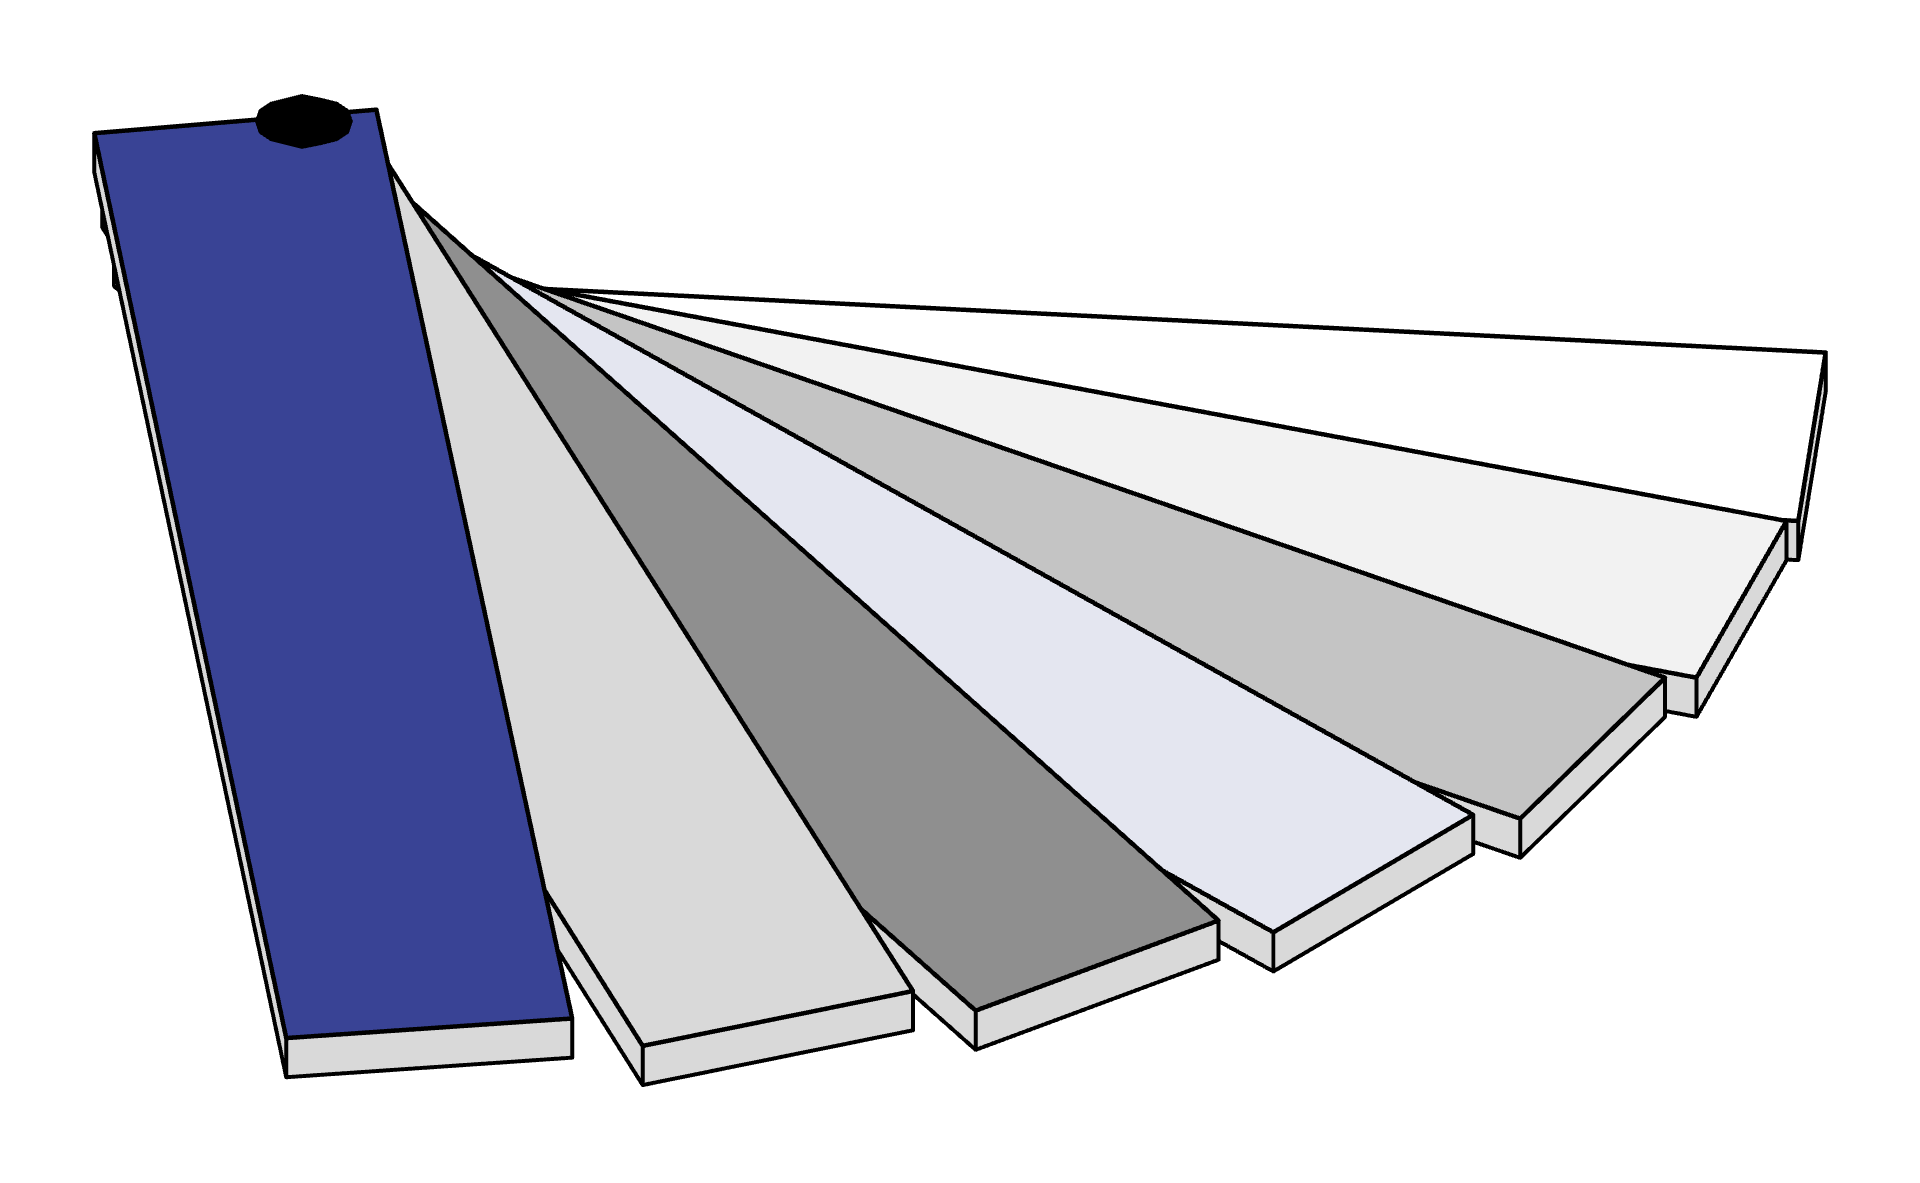

Price level

Ready to use
 Untreated
Uses
 | Dry interiors |
Quick facts
 | – the most affordable price level in our range. |
 | Untreated – the product leaves the factory unfinished. You can apply a finish or leave it natural. |
 | Dry interiors – suitable, surface treatment recommended. |
The ratings are based on our wood species suitability table (in Finnish).
The finishing touch that shows a careful renovation
Moldings are the final touch of a renovation, and they are where you can see how carefully the work was done. Neat corners, a straight ceiling line and a discreet joint finish the room so the eye doesn't stop at the seams.
The right molding for every spot
- Baseboards finish the line between floor and wall and protect the bottom of the wall from knocks.
- Ceiling moldings soften the line between wall and ceiling and give the room a finished look.
- Trim moldings neatly cover the joints around windows and doors.
- Edge and window reveal moldings finish edges and window reveals.
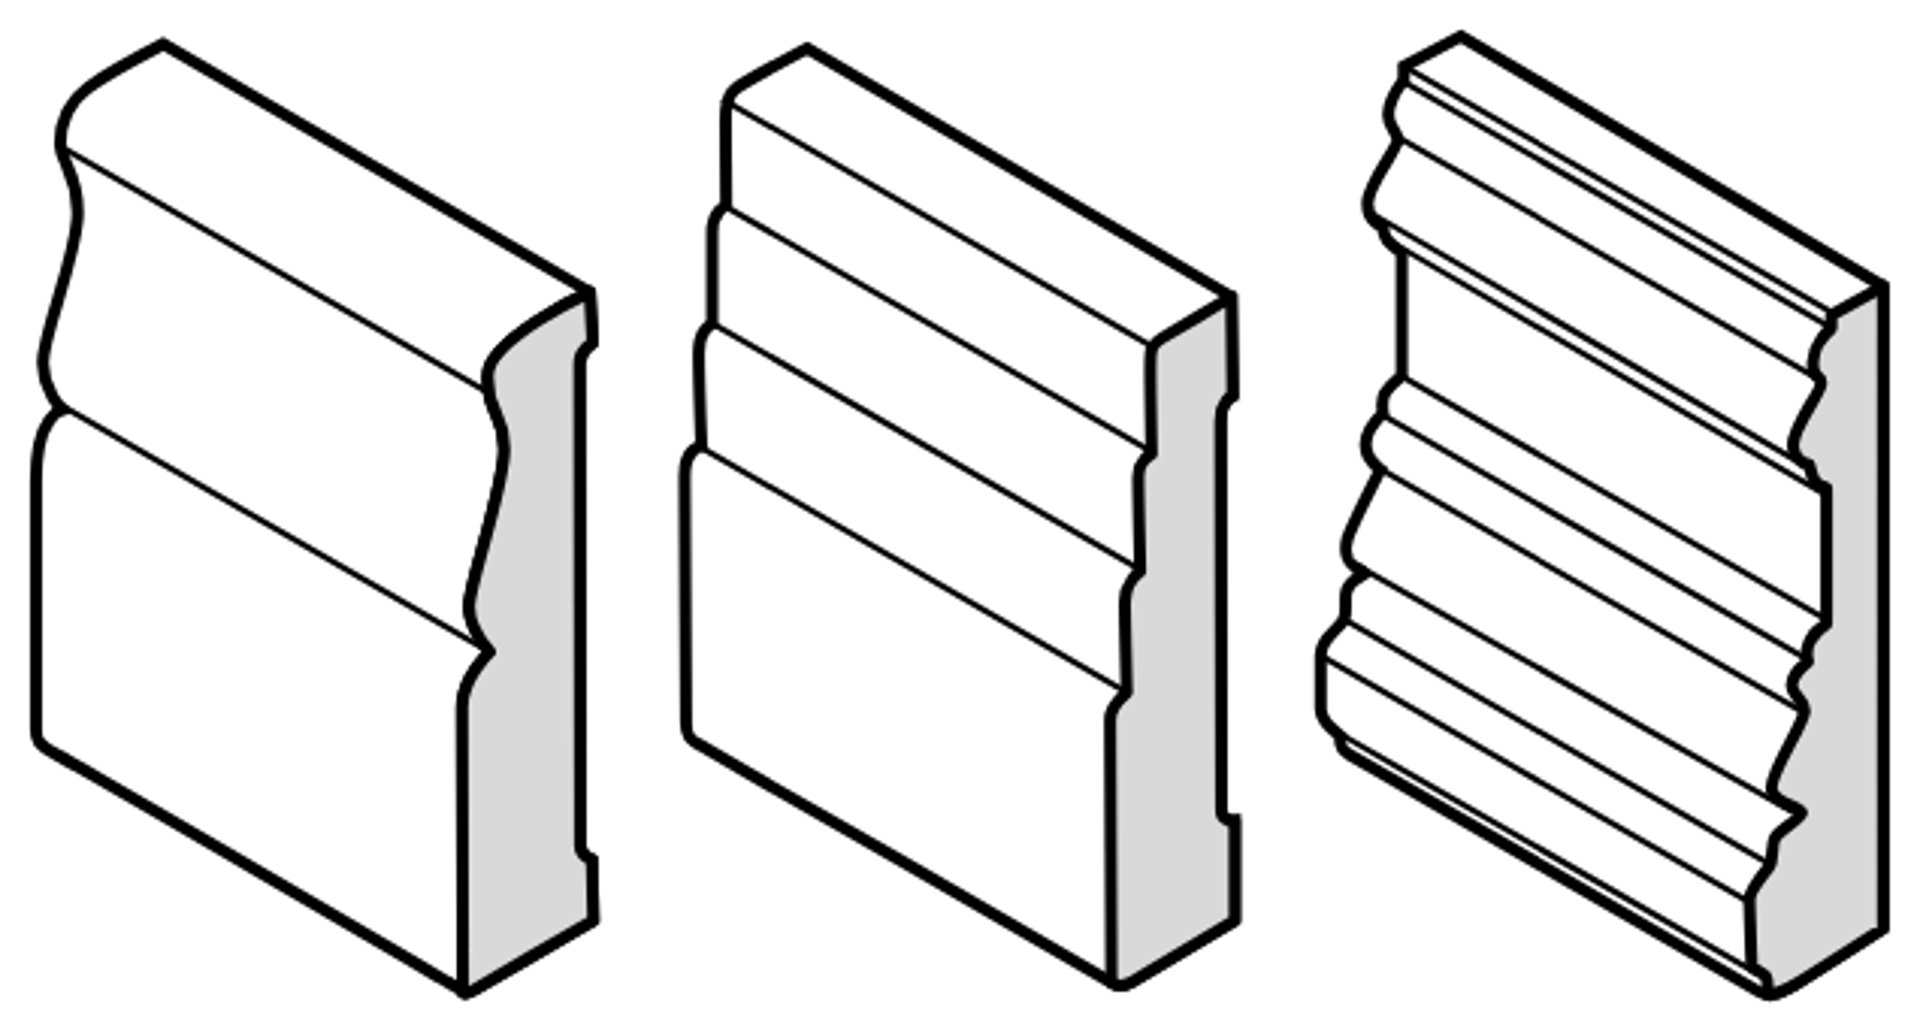
Subtle or striking
A narrow, simple molding stays in the background. A wide, profiled molding gives the room presence. With traditional moldings, an old house gets its original character back.
A look that evolves with you
Wooden moldings stand the test of time and wear. When you want to refresh your interior, you can paint the moldings a new color and give the room a new look without a major renovation.
Can't find what you need?
Ask us. We do many custom projects where the wood species and finish are chosen to suit the site.
✅ Finnish wood, responsibly manufactured in Lempäälä
✅ Completely natural and safe product
✅ Beautiful grain pattern
✅ Natural and warm appearance
✅ PEFC-certified
Our product uses pine, a domestic softwood with an elegant grain that creates a natural and warm atmosphere indoors. Easy to work with and finish, pine is ideal for interior applications such as paneling, flooring, trim, and finishing. Its beautiful grain and natural color make it an aesthetically appealing choice for visible surfaces. Our PEFC-certified pine products are responsibly produced and environmentally friendly.
Made-to-Order Product
A made-to-order product is a good choice for larger projects that require a specific profile in a specific wood species. It is a suitable option when procurement can be planned well in advance of the actual need.
Made-to-order products are manufactured to the customer's requirements, so every order is unique. Delivery time and final price depend on several factors, which are always considered separately when preparing a quotation.
You will receive an exact quotation and delivery estimate once the order details have been confirmed. The more detailed the information on the product, quantity and desired specification we receive at the outset, the faster we can process your order.
Please note, however, that the precision of material and profile requirements affects the manufacturability of the product. The more detailed the requirements, the more limited the production options may be. Feasibility is also assessed based on the availability of raw material.
Delivery Time
Delivery time is particularly affected by the availability of raw material. Raw material availability varies by wood species and grade. Larger order volumes also require more preparation and production time so that the order can be scheduled into production. Multi-stage processing of the product, such as planing, end-matching and surface treatment, affects the delivery time and requires a longer production time.
The estimated delivery time indicates when the goods will be ready for shipment or collection from our warehouse. We confirm an individual delivery time for each order. Below are examples of typical delivery times for different cases.
Products with a delivery time from 2–4 weeks
This delivery time is possible when the raw material is available and a production run for a corresponding product is scheduled soon, allowing the order to be combined with that run. Otherwise, the delivery time is at least 4 weeks. The estimate does not take production queue congestion into account and is intended as a guideline only.
- Surface treatment
- Standard stock profile
- Minor modifications to a standard stock profile, e.g. width or thickness
Standard stock profile = A product identical in dimensions and shape, for example in another wood species
Products with a delivery time assessed case by case
- Standard stock profile with no raw material in stock
- Special profile with no raw material in stock
Both of the above cases are only possible for large projects, with a delivery time of at least 2 months
Restrictions
The order quantity must be at least as stated below.
- 500m for a stock product to be surface treated
- 1000m for a standard stock profile
- 2000m for a standard stock profile with minor modifications
- One bundle of sawn timber (approx. 4m³) if the order is not a standard stock profile
- Multiples of sawn timber bundles (approx. 4m³) (1,2,3,..) when the raw material is not in stock.
Thickness
- Product thickness can range between 12-45mm.
Width
- Product width can range between 40-200mm.
Length
- Timber lengths range between 1.8-6.0m. We aim to meet length requests wherever possible, but unfortunately this is not always possible.
Waste Allowance
To avoid a costly supplementary order, include a sufficient waste allowance in your order. The costs of a small supplementary order can be at least 5x those of the original. Any supplementary order takes at least as long to produce as the original order, and its price is quoted as a separate delivery.
Ordered and Delivered Quantity
A tolerance of ±10 percent is permitted in the delivered quantity of timber compared with the quantity stated in the order confirmation. This means that the delivered quantity may be up to 10 percent less or more than the quantity ordered. As timber is a natural material, its properties are subject to natural variation. For this reason, the amount of waste generated in production cannot be predicted entirely accurately. The final quantity therefore cannot be predicted in advance; it is determined during manufacturing and rarely matches the ordered quantity exactly.
Product information
| Tuotenimi | PEITELISTA MÄNTY 12 x 70 VM/EM |
| Tuotenumero | 317 |
| Alkuperämaa | Suomi |
| Toimitusaika | huomenna, kun tuotetta varastossa |
| Saatavuus | Ole yhteydessä myyntiin |
Product measurements
| Vahvuus (mm) | 12 |
| Leveys (mm) | 70 |
| Paino (kg/myyntiyksikkö) | 0 |
Product features
| Puulaji | Mänty |
| Pintakäsittely | Ei käsitelty |
| Palokäyttäytyminen | D-s2, d0 |
Sustainability
| Hiilijalanjälki (CO2e kg/jm) | 0,04 |
| Hiilikädenjälki (CO2e kg/jm) | -0,64 |
| CE-merkintä | Ei |
Grading rules
You can download the grading rules applied in the manufacture of this product here: Pine
Minimum order size
Please note that we deliver our products in bundles. Bundle size is indicated together with stock information on top right corner.
 Planning your moldings
Moldings finish the joints and add character to a room. The shape, size and color of the molding can change the look of the same room a great deal.
Types of moldings
- Skirting boards finish the joint between the floor and the wall and protect the bottom of the wall.
- Crown moldings finish the joint between the wall and the ceiling. A molding in the same color as the ceiling makes the joint almost invisible, while a different color creates contrast.
- Shadow moldings are installed where the wall meets the ceiling. Instead of covering the joint like a crown molding, they leave it in shadow.
- Casings finish the frames around doors and windows. You can also use a casing to cover the joint between two wallpapers, for example.
- Edge moldings, or L-moldings, finish outside corners and, for example, the top edge of half-height paneling.
- Corner moldings finish the corners of paneling. They are installed before the paneling.
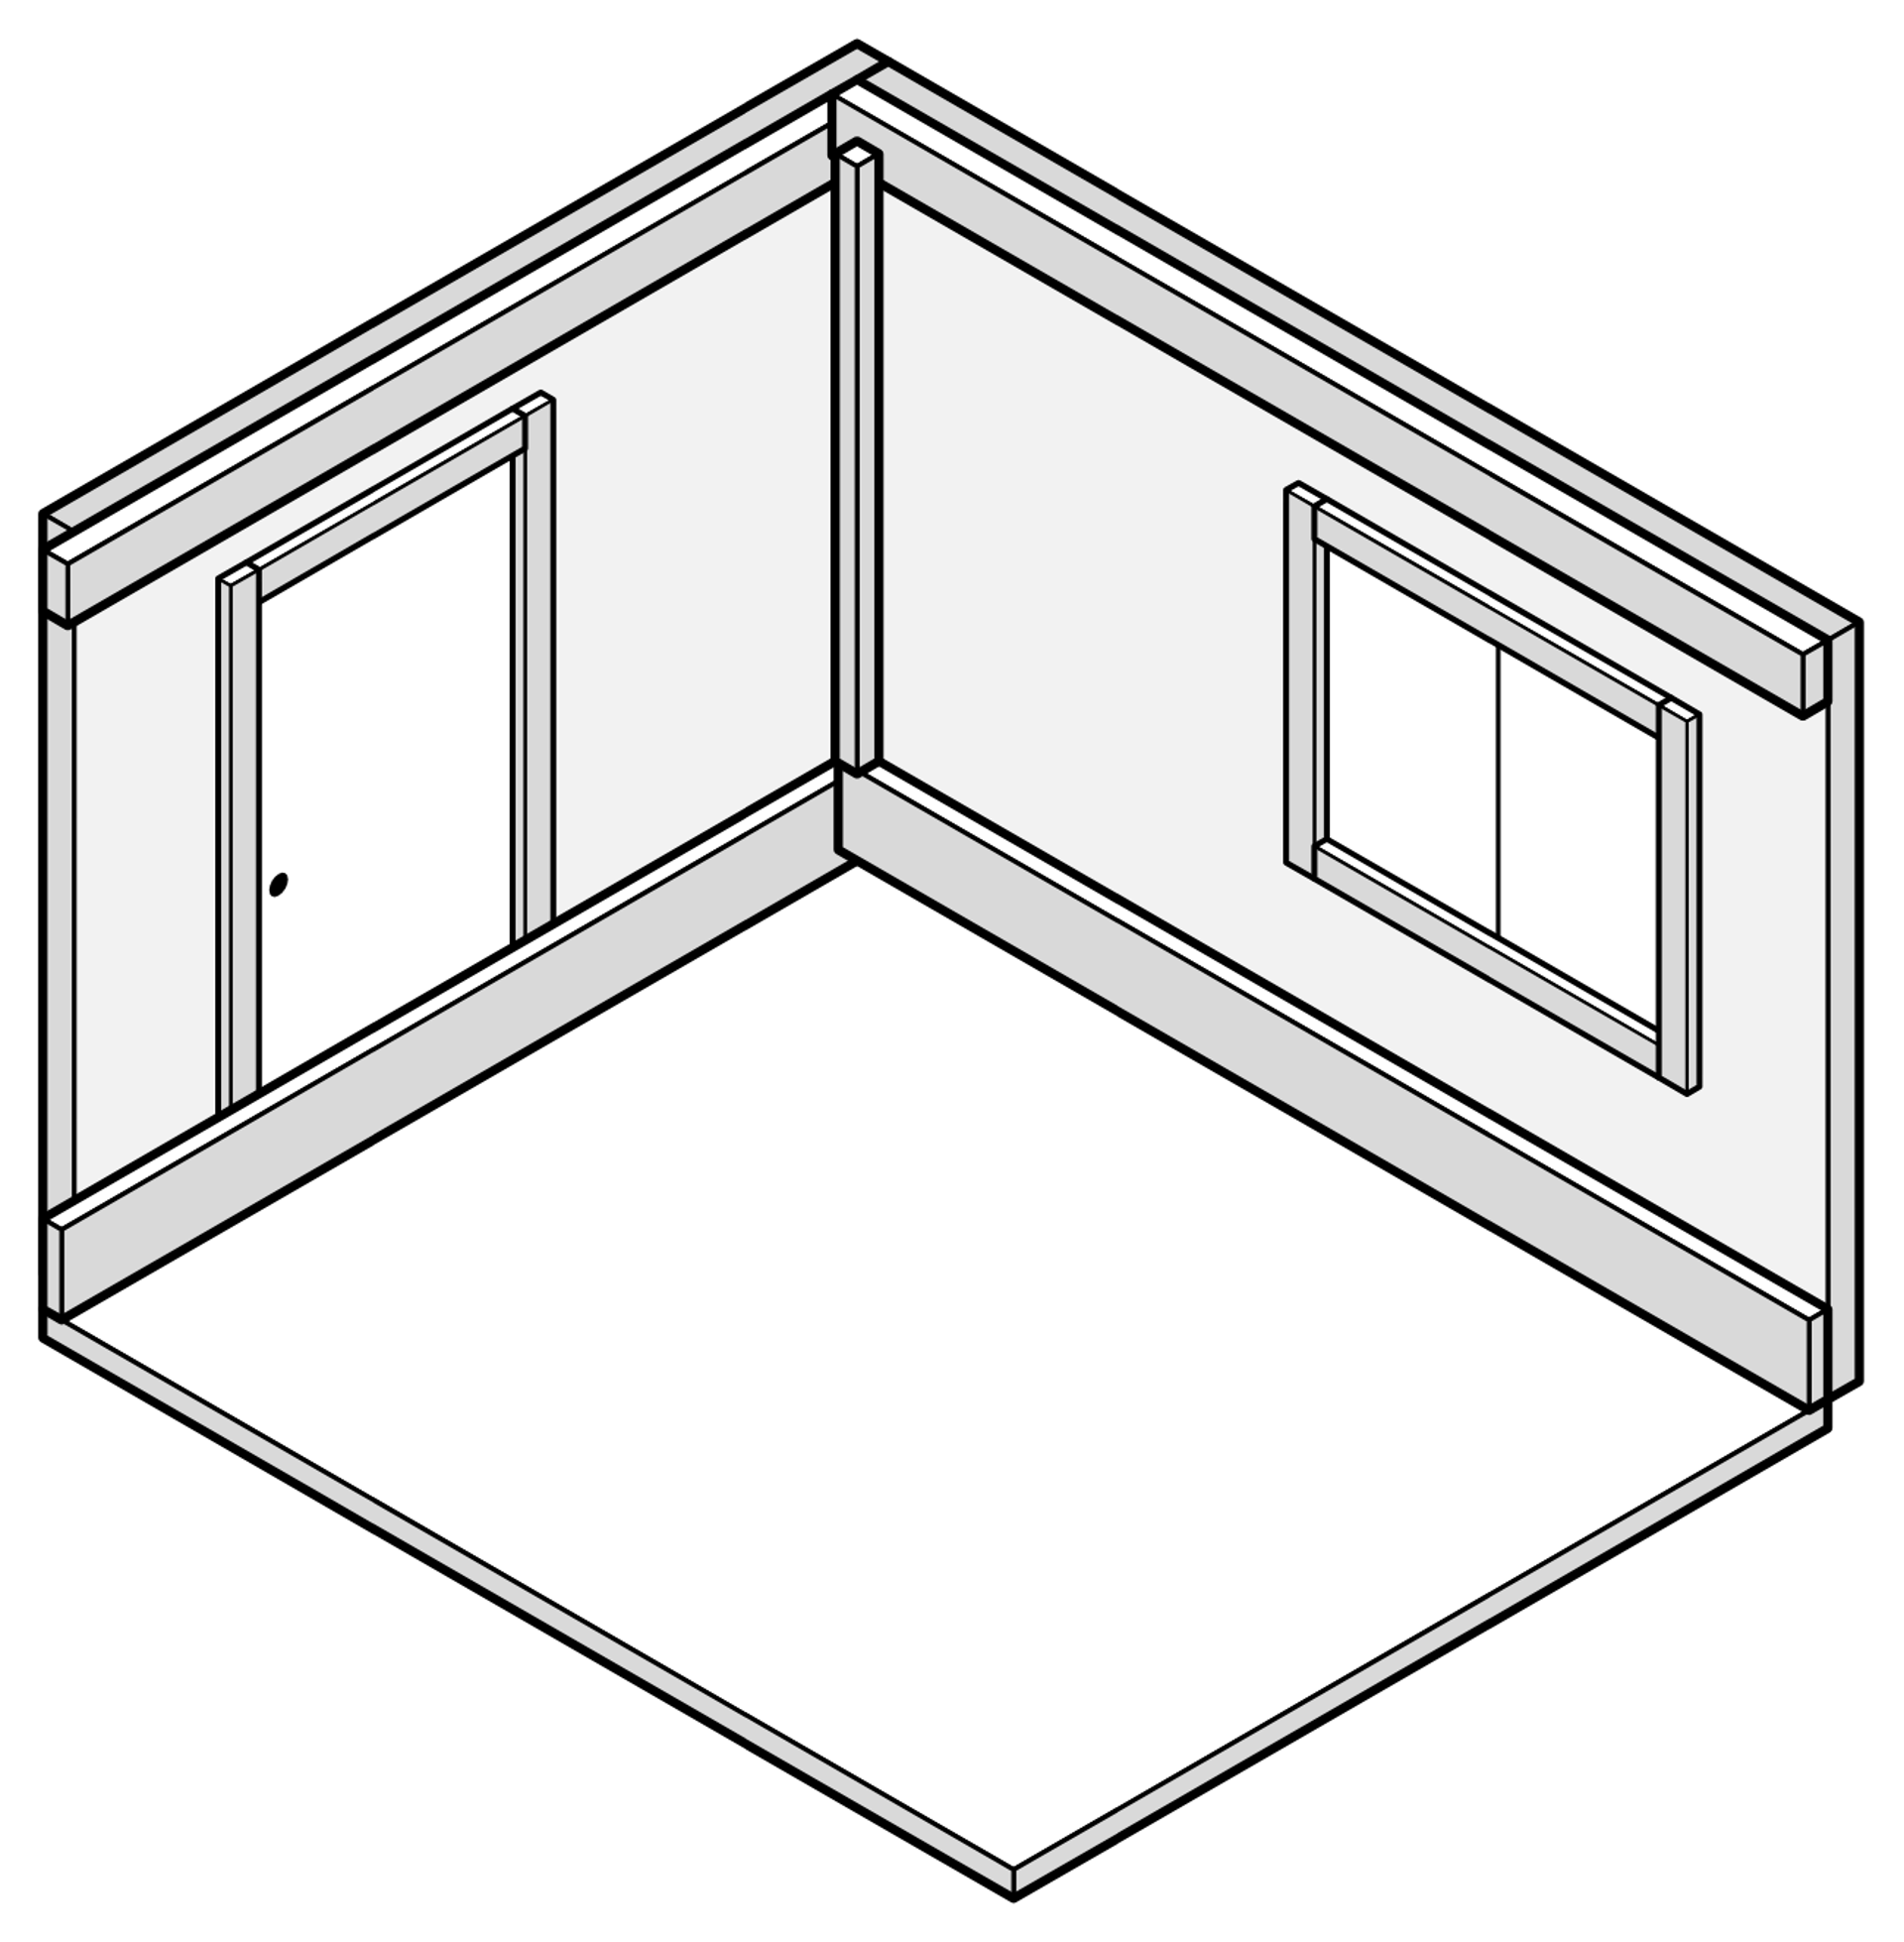
Plan the whole
- Size. Choose the height of the molding to suit the room. In a low room, a tall molding emphasizes the low ceiling.
- Color. White is the most popular color for moldings. You can paint wooden moldings to suit any room.
- Joints and corners. Plan where the joints will go and whether to miter the corners or butt the moldings together.
- Cutting allowance. Molding ends almost always need trimming, so allow about 50 mm of extra length per molding.
- Fastening. Think about what you will fasten the moldings to and how.
- Wood movement. In dry rooms, moldings shrink as they dry. In damp rooms, they swell and shrink as the humidity changes.
Our moldings are available in pine, alder, aspen, western red cedar and thermally modified radiata pine. Pine, alder and aspen moldings are also available thermally modified.
 Installing moldings
Moldings give a room a finished look and neatly cover the joints. When you plan the joints and corners in advance and choose a fastening method that suits the surface, the result is polished and durable.
Before installation
- Let the moldings acclimatize. Bring the moldings into the room 1–2 weeks before installation so that they adjust to its temperature and humidity. The wider the molding, the longer it needs to acclimatize.
- Store the moldings correctly. Keep the moldings flat in their unopened packs, at least 30 mm off the floor. Humidity in the room must not rise above the normal level for its use, and the temperature must be higher than outdoors. A rapid drop in humidity can cause the wood to crack.
- Treat the moldings before installation. It's easiest to paint or treat the moldings before you fasten them. After installation, you only need to touch up the fastening points and cut surfaces.
- Plan the joints before cutting. Think about where the joints will go so that they end up in places where they're as unnoticeable as possible.
- Allow extra length for cutting. The stated product length is not an exact measurement, so choose moldings that are at least 5 cm longer than you need.
- Choose how to join the corners. Decide whether to miter the moldings or butt them together.
Good to know: Moldings also shrink lengthwise. The longer they acclimatize before you fasten them, the less they shrink after installation.
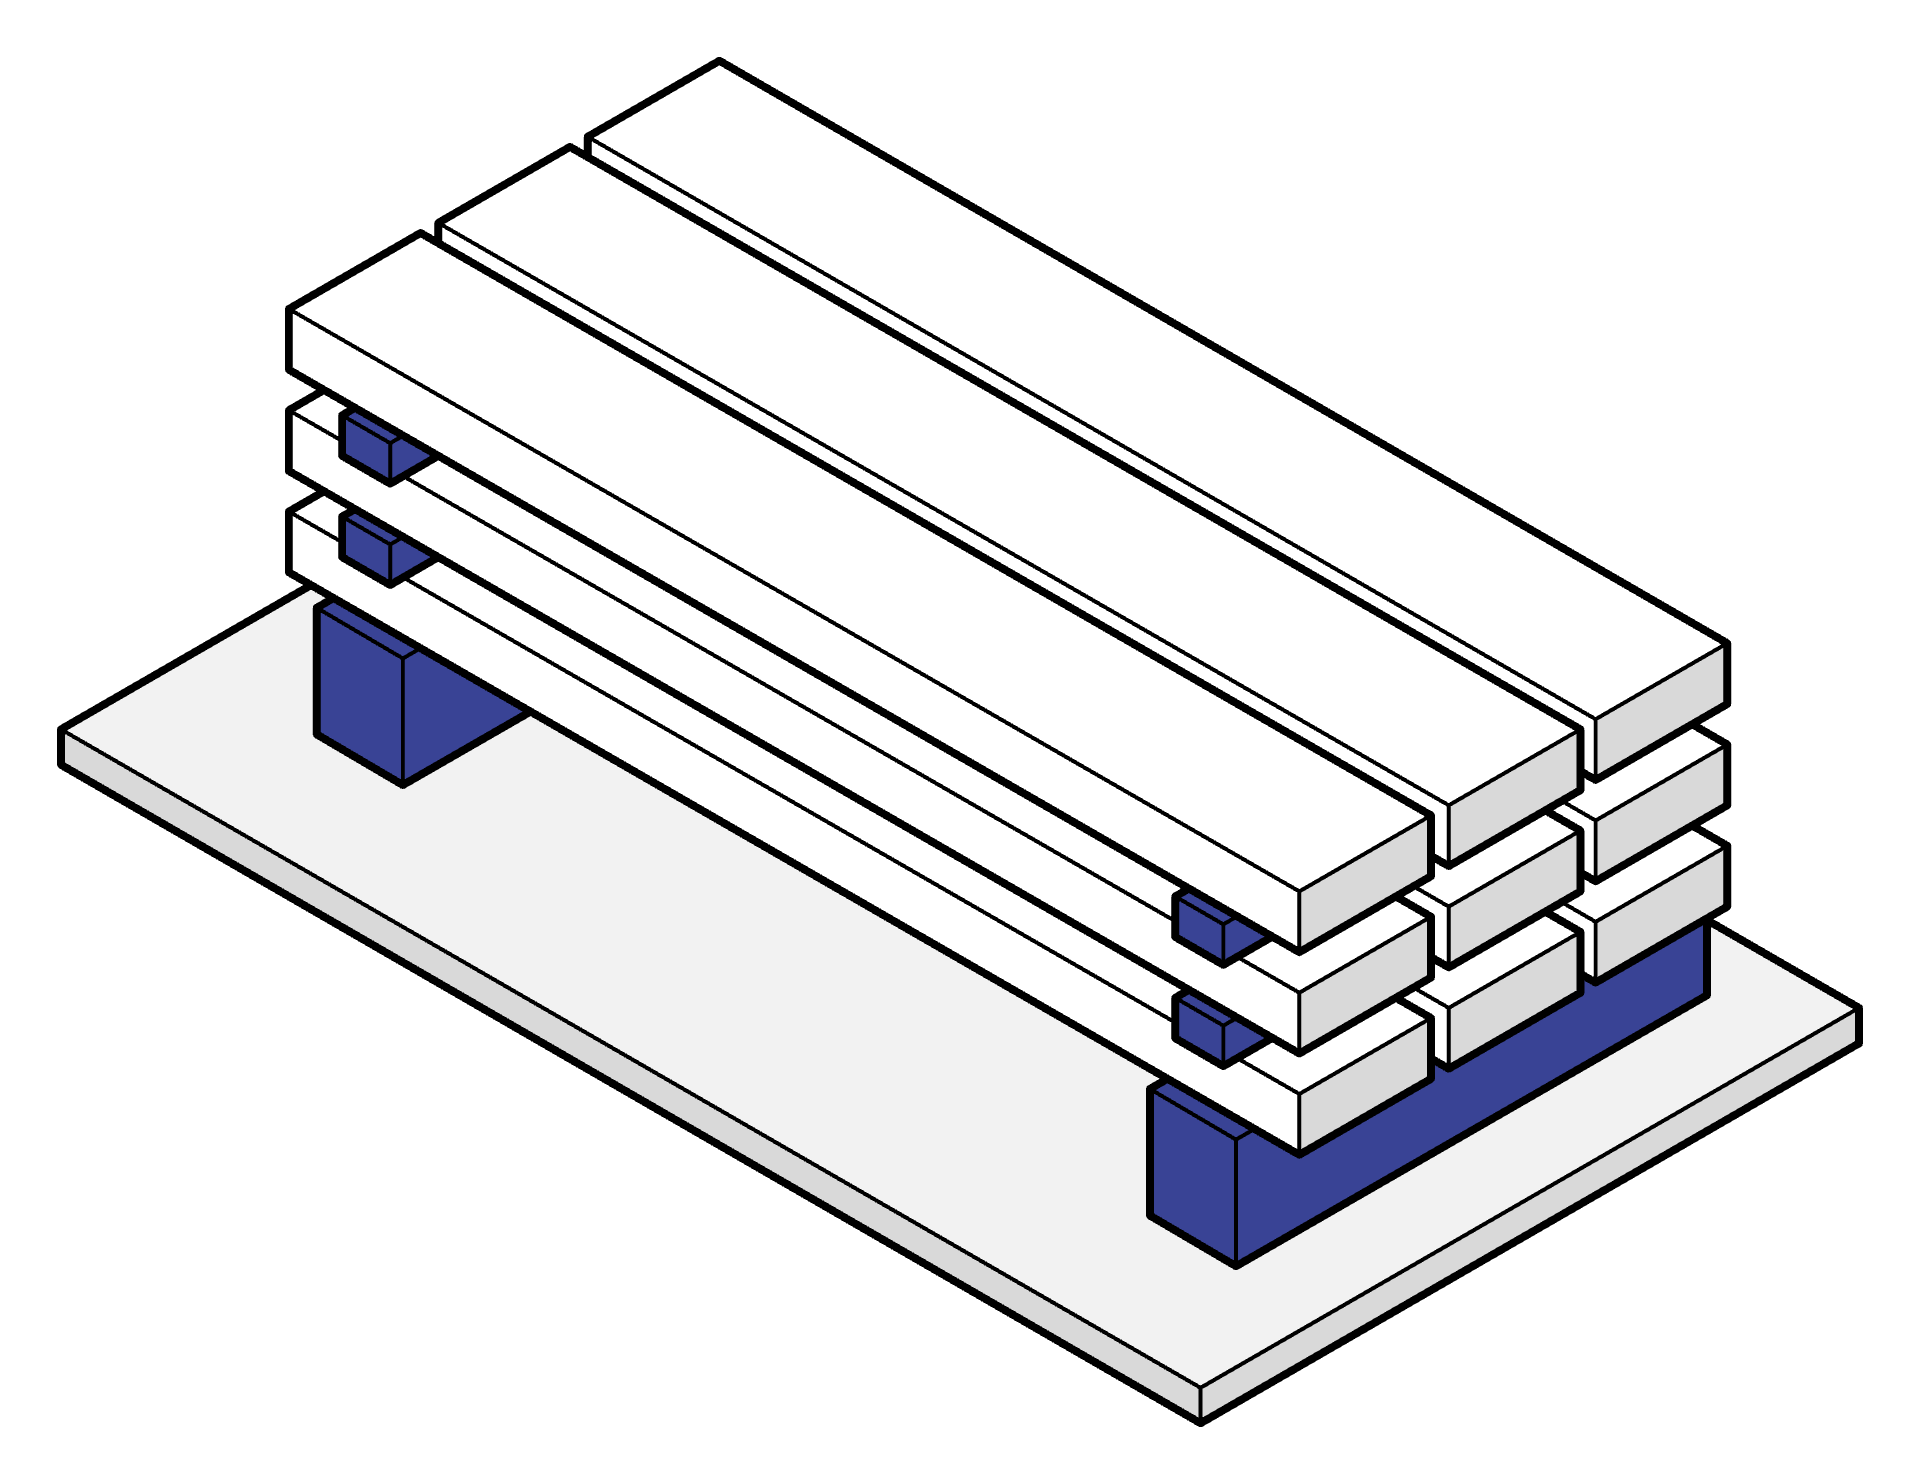
Cutting and corners
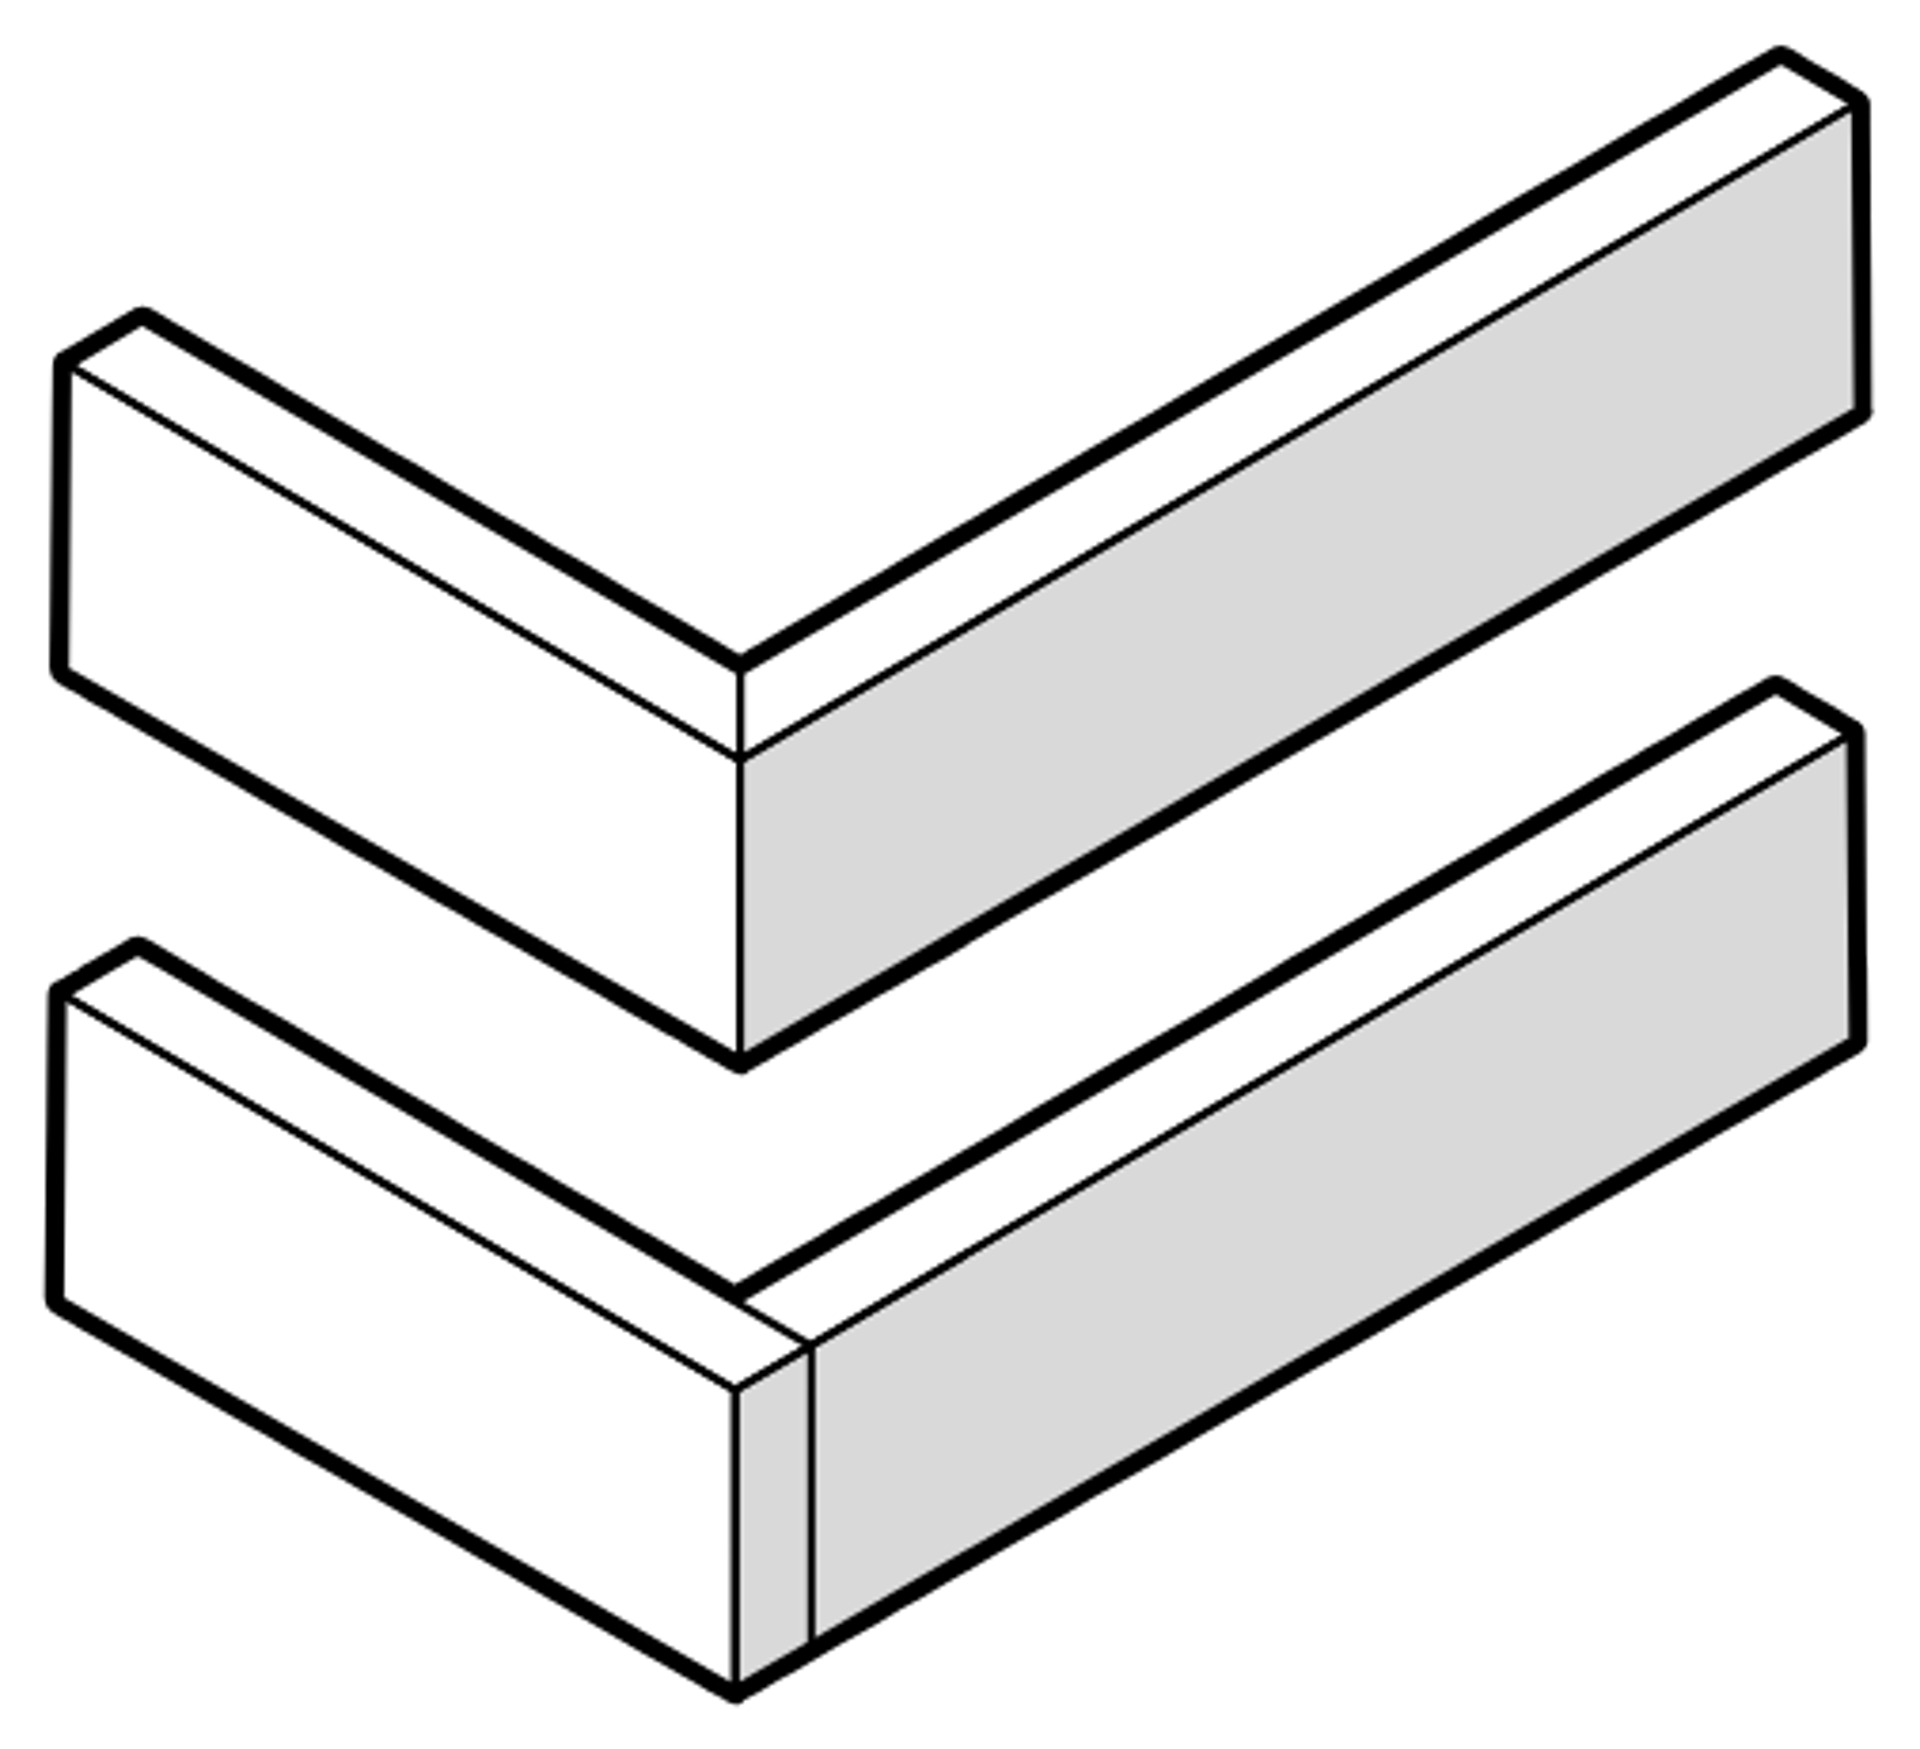
- Miters: Cut miters with a miter box or a miter saw. A sample piece helps you get the angle right easily.
- Joints: Make joints as scarf joints, cut at an angle of about 45 degrees. A scarf joint is less noticeable than a straight joint and doesn't open up as easily.
- Profiled moldings in inside corners: You can cope the end of one molding so that it fits the profile of the other. This keeps the joint tight even if the corner isn't perfectly square.
Fastening
The fastening method depends on what you're fastening the molding to.
| Surface | Fastening |
|---|---|
| Wood | Trim nails or finishing nails |
| Drywall | Nailing into the battens or gluing |
| Brick, concrete or stone | Hammer-in anchors or gluing |
| Any surface | Gluing |
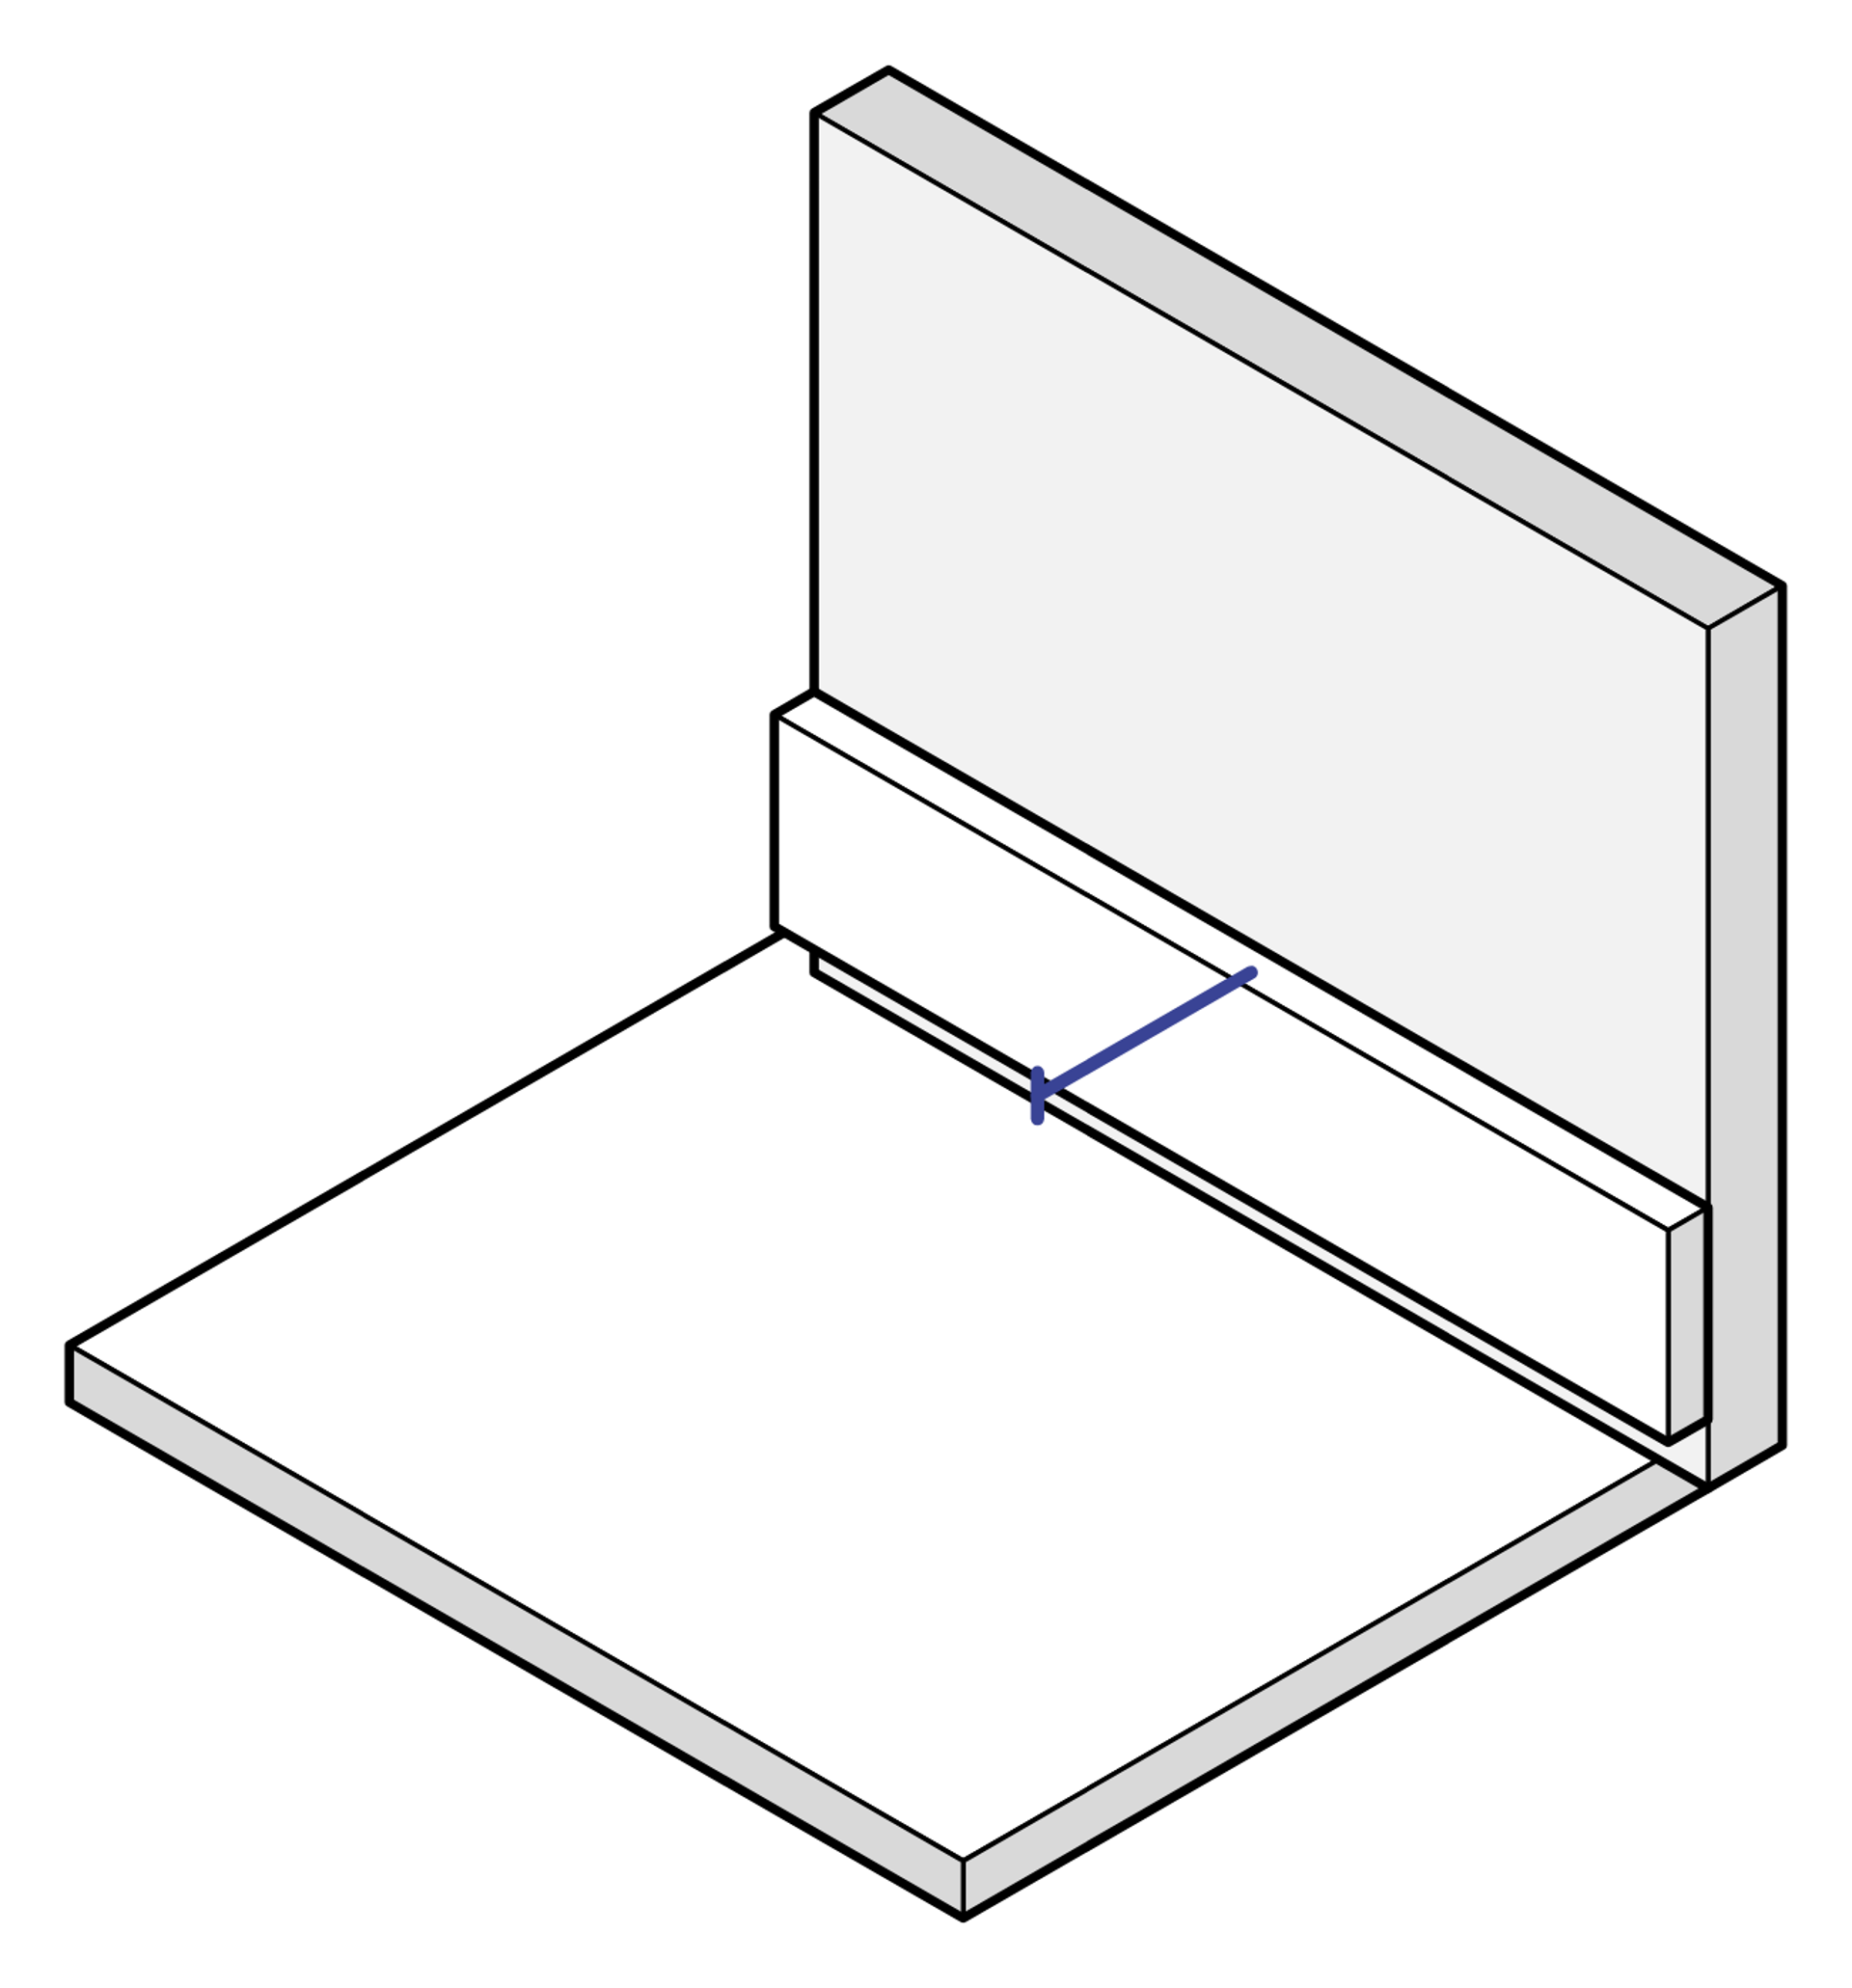
Always fasten baseboards to the wall, not the floor. Parquet and laminate floors, for example, move, and the floor needs to be able to move under the baseboard.
Nailing
- Fasten the molding with a finish nailer at intervals of about 60 cm. Also fasten both ends of the molding.
- You can also fasten the molding the traditional way with a hammer and trim nails.
- On drywall, nail the molding into the battens so that it stays firmly in place.
Fastening to concrete or stone walls with hammer-in anchors
- Press the baseboard lightly against the floor, for example with a scrap piece of board.
- Drill straight through the baseboard into the wall with a hammer drill.
- Hammer the anchor through the baseboard into the wall.
- Finally, tighten the screw with a cordless drill.
Gluing
Suitable adhesives include Soudal Soudagrip construction adhesive and Kiilto Rakennusliima.
- Apply adhesive to the back of the molding and press it against the wall.
- Pull the molding away and check that there is enough adhesive.
- Let the adhesive soak into the surface for a moment.
- Press the molding back into place. Support it if needed until the adhesive has dried.
Finishing
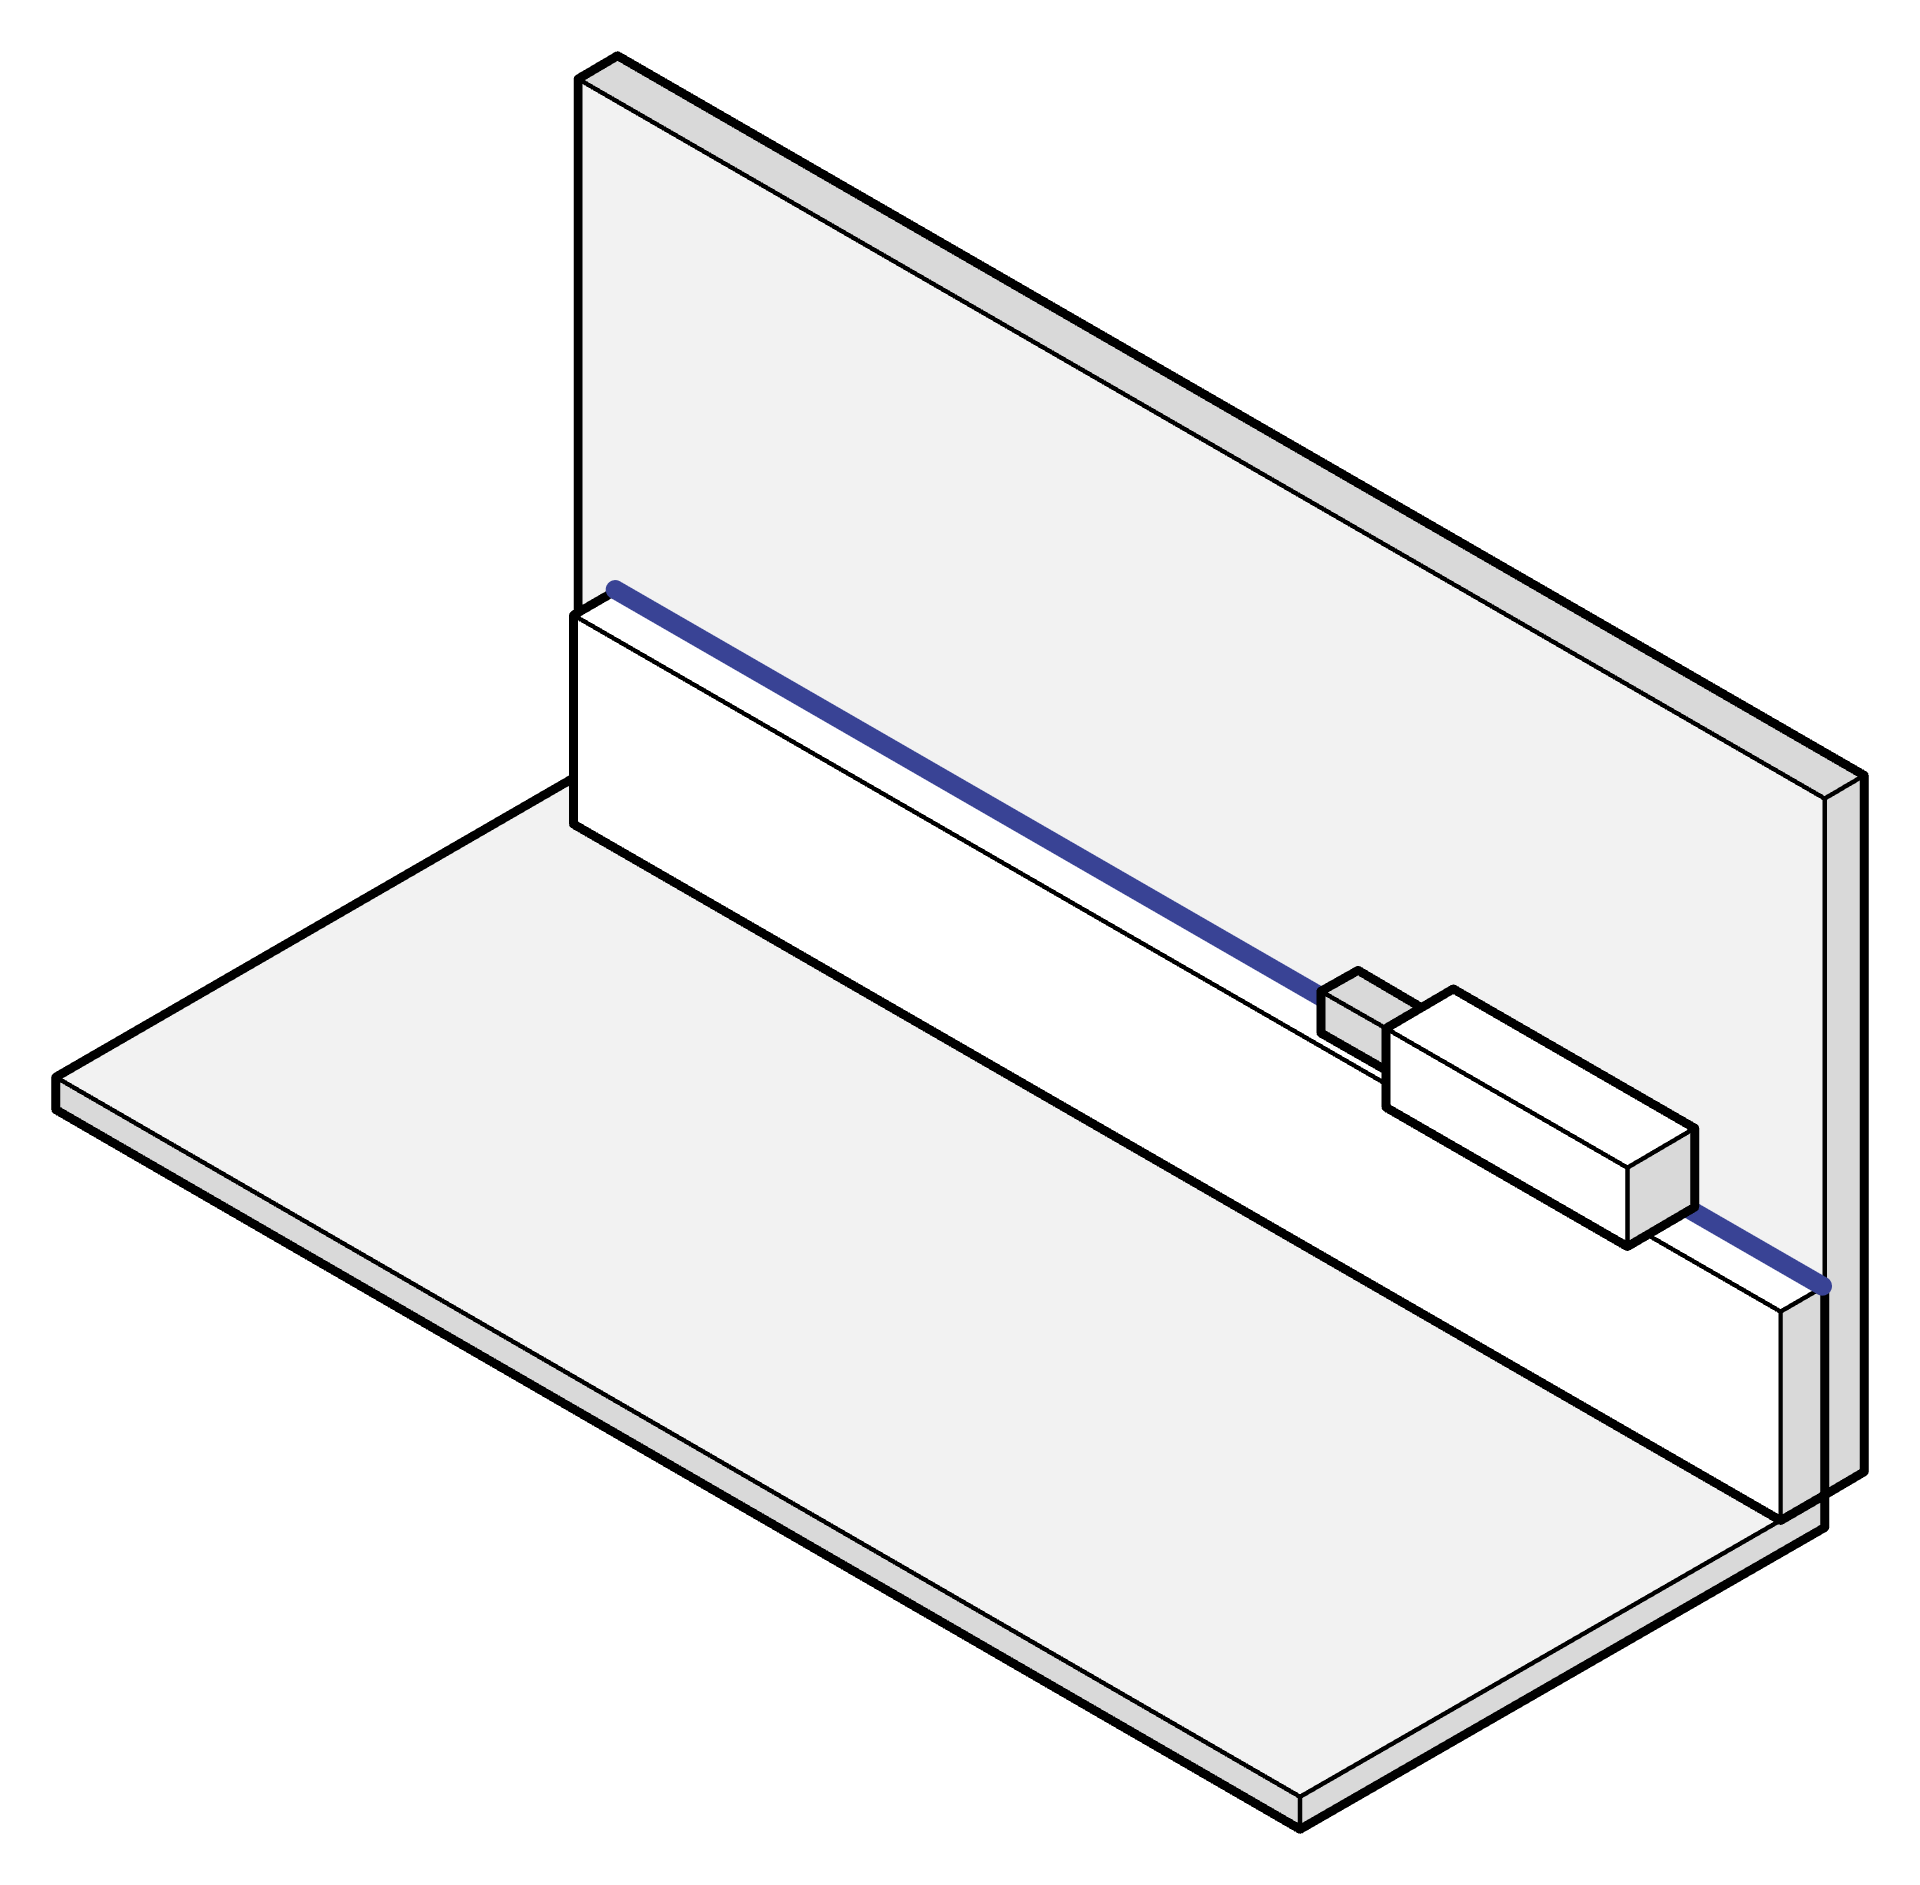
- Fill gaps with acrylic caulk. Fill any gaps between the molding and the wall or ceiling with paintable acrylic caulk.
- Fill the nail holes. Set the nail heads below the surface and fill the holes with wood filler.
- Touch up the paint if needed. Paint the filled spots, caulked joints and cut surfaces to match the molding.
If you're unsure about any step, ask a professional installer for help.
 Treatment
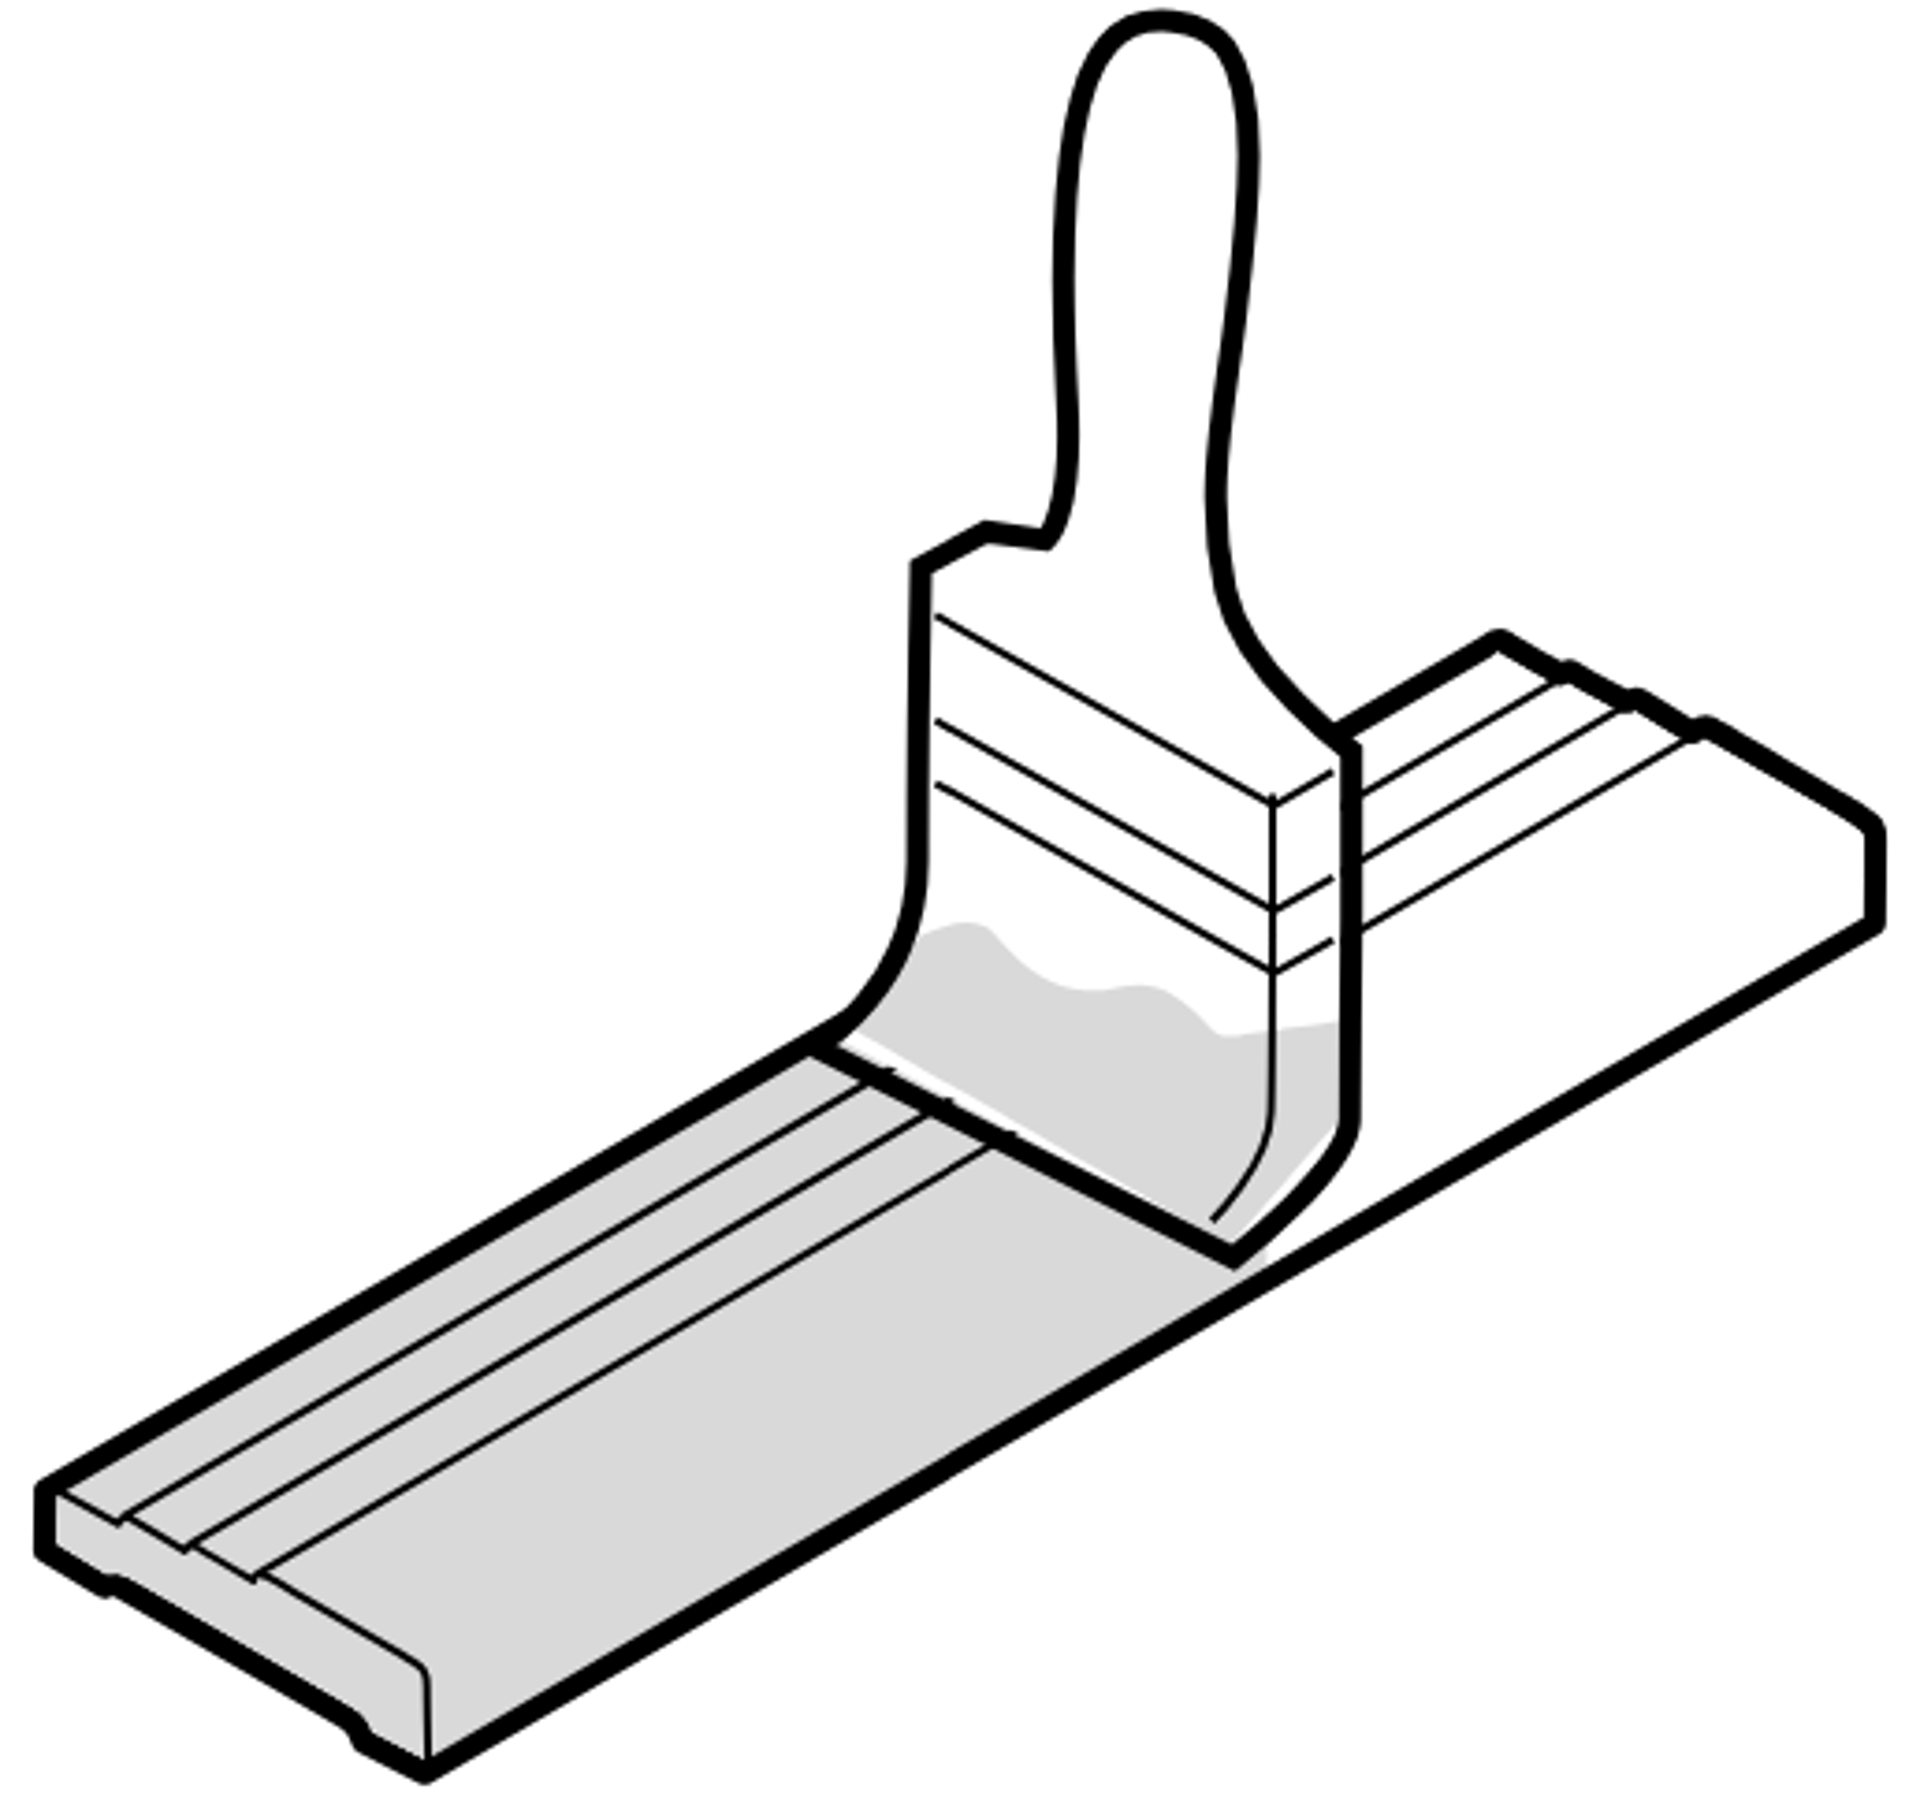
Always treat one moulding along its entire length to avoid visible seams. Use a product suitable for the space. If acrylic has been used for finishing during installation, it is recommended to apply the final coat so that the acrylic is covered. This makes cleaning easier and prevents a visible line from forming as the colour of the acrylic and moulding changes over time.
 Maintenance and Care
Proper cleaning keeps surfaces in good condition and looking attractive. The maintenance interval for the surface treatment depends on the product and installation location. Maintain the surface in time to prevent wood damage from lack of protective coating. Dents in wooden mouldings can be repaired with suitable filler and a new coat of paint.
Lauta.fi delivers product sample pieces to both consumer customers and professionals, such as architects, interior architects and designers, construction industry and procurement professionals.
If you are interested in ordering one or more sample pieces, please contact our sales department via email lauta@lauta.fi or phone +358 3 3123 6000 (On weekdays 8-16).